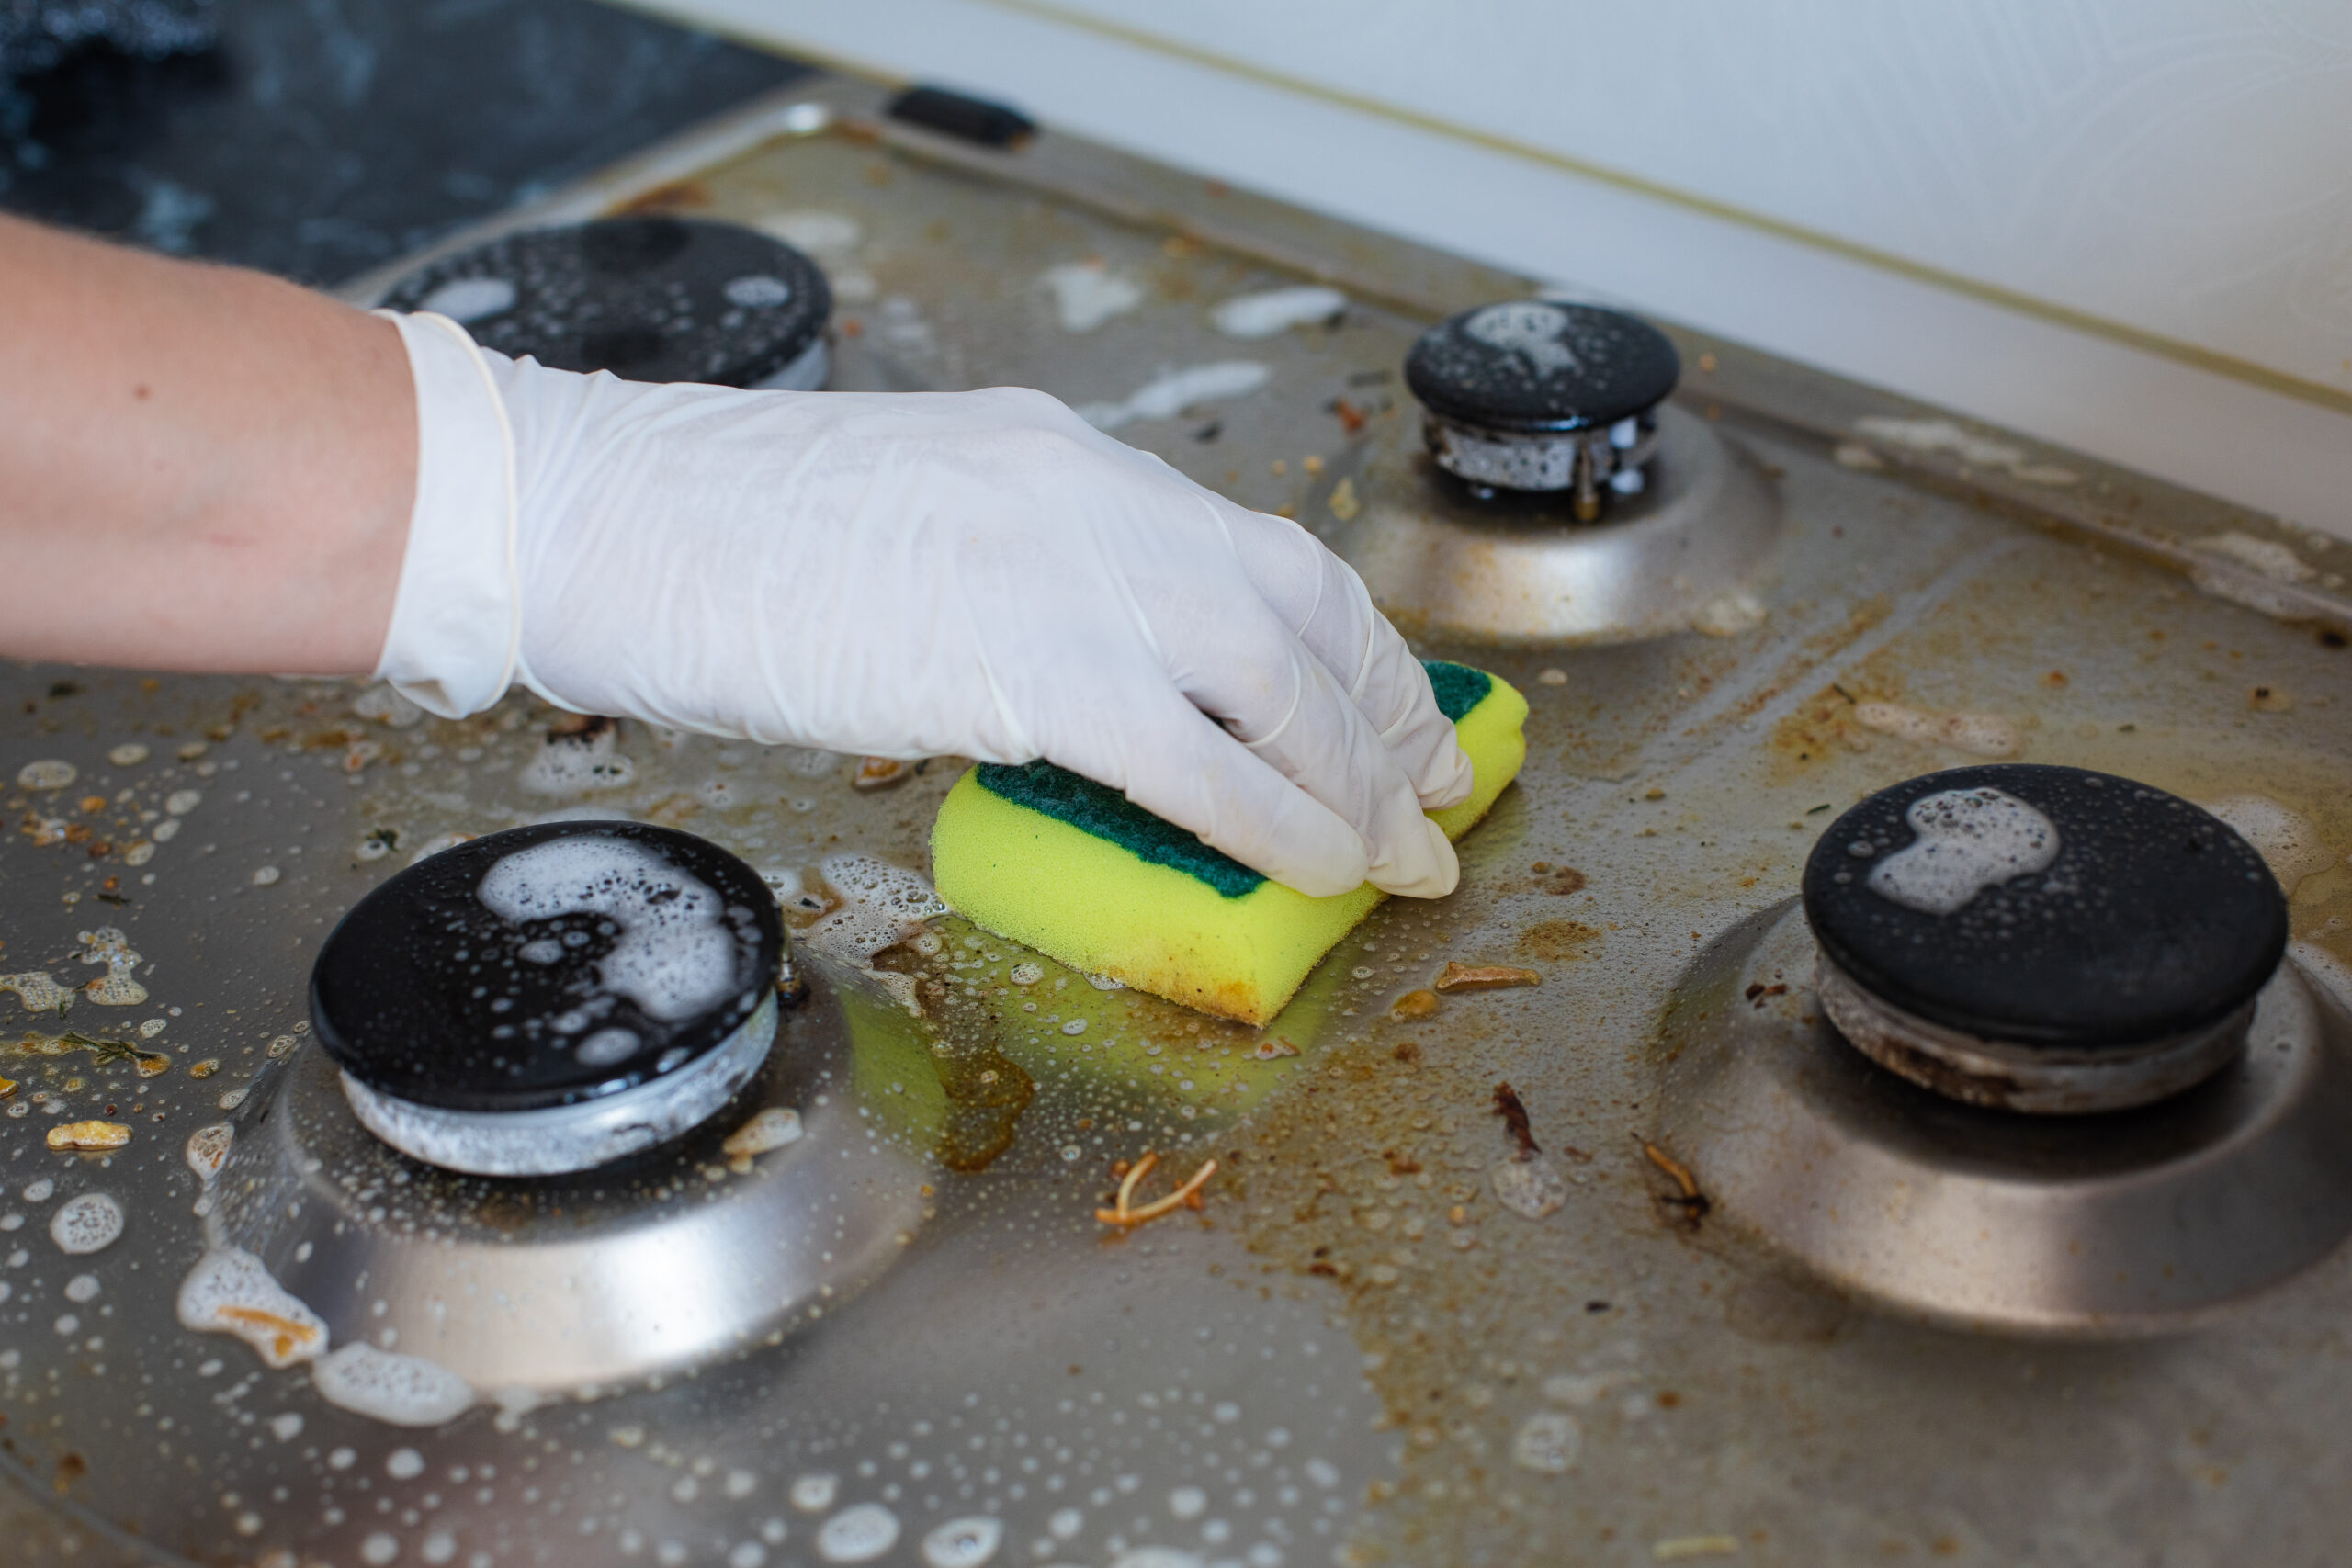
There’s something deeply satisfying about a sparkling clean kitchen, but those crusty, grease-covered gas stove grates? They’re often the bane of every home cook’s existence. If you’ve been scrubbing away with little success, you’re not alone.
How to effortlessly clean gas stove grates to make them look like new is a question that plagues homeowners everywhere. The good news is that with the right techniques and a bit of patience, you can restore your grates to their original glory without breaking your back or your budget. This comprehensive guide will walk you through everything you need to know about cleaning gas stove grates effectively and safely.
Table of Contents
Understanding Why Gas Stove Grates Get So Dirty
Before diving into cleaning methods, it helps to understand what you’re dealing with. Gas stove grates take a beating every time you cook. They’re constantly exposed to high heat, splattered grease, boiled-over sauces, and burnt food particles. Over time, these substances bake onto the metal surface, creating stubborn layers that seem impossible to remove.
The type of grate material matters too. Most gas stove grates are made from cast iron, enamel-coated cast iron, or steel. Each material requires slightly different care, though the basic cleaning principles remain similar. Cast iron is porous and prone to rust, while enamel coating can chip if treated too harshly.
What You’ll Need for Cleaning Gas Stove Grates
Gathering your supplies before you start makes the entire process smoother. The beauty of cleaning gas stove grates is that you probably already have most of what you need at home.
Basic Cleaning Supplies
You’ll want to have dish soap (preferably a degreasing formula), baking soda, white vinegar, and plenty of hot water on hand. You’ll also need a large basin, sink, or even your bathtub for soaking. Grab a scrub brush or old toothbrush, a non-abrasive sponge, microfiber cloths, and rubber gloves to protect your hands.
Optional Heavy-Duty Items
For extremely stubborn grime, you might consider using ammonia (with proper ventilation), large garbage bags, a plastic scraper, or steel wool if you have uncoated cast iron grates.
Important Safety Note: Never mix ammonia with bleach or other cleaners, as this creates toxic fumes. Always work in a well-ventilated area when using ammonia, and consider wearing a mask.
Method 1: The Simple Soap and Soak Technique
For regular maintenance or lightly soiled grates, this straightforward method works wonders. It’s gentle enough for all grate types and requires minimal effort.
Step-by-Step Instructions
Step 1: Remove and Prepare
Wait until your stove is completely cool—this is crucial for your safety. Remove all the grates carefully and take them to your sink or a large basin. Give them a quick rinse with warm water to remove any loose debris and food particles.
Step 2: Create Your Cleaning Solution
Fill your sink or basin with hot water, as hot as you can comfortably handle. Add a generous amount of dish soap, about a quarter cup should do the trick. Swirl it around to create plenty of suds. The degreasing properties in dish soap are your first line of defense against built-up grime.
Step 3: Soak Thoroughly
Submerge your grates completely in the soapy water. This is where patience pays off. Let them soak for at least 30 minutes to an hour. For grates with heavier buildup, extend this to several hours or even overnight. The hot water and soap will work together to loosen the baked-on grime, making your job much easier.
Step 4: Scrub Away
After soaking, use your scrub brush or sponge to work on the loosened grime. Focus on the areas with the most buildup, using circular motions. An old toothbrush works perfectly for getting into tight corners and crevices. You’ll notice the grime coming off much more easily after the soak.
Step 5: Rinse and Dry
Rinse each grate thoroughly under warm running water, making sure all soap residue is gone. Dry them completely with a clean towel or let them air dry on a dish rack. This step is especially important for cast iron grates to prevent rust.
Method 2: The Baking Soda Power Paste
When soap and water aren’t quite cutting it, baking soda becomes your best friend. This natural abrasive is tough on grime but gentle on your grates.
Creating and Applying the Paste
Mix baking soda with just enough water to create a thick paste—think toothpaste consistency. You’ll need about half a cup of baking soda for a full set of grates. Spread this paste generously over all the dirty areas of your grates, making sure to cover every grimy spot.
Let the paste sit for at least 15 to 20 minutes. For really stubborn areas, you can let it work for up to an hour. The baking soda will break down the grease and burnt-on food particles during this time.
The Scrubbing Process
Using a damp sponge or scrub brush, work the paste into the grates using circular motions. The slight abrasiveness of the baking soda combined with your elbow grease will lift away the grime. For extra cleaning power, sprinkle a little dry baking soda directly onto your scrub brush as you work.
Rinse everything thoroughly with warm water and dry completely. You’ll be amazed at how much cleaner your grates look.
Method 3: The Vinegar and Baking Soda Combo
This dynamic duo creates a fizzing action that helps break down even the most stubborn grime. It’s like a science experiment that actually cleans your kitchen.
How to Use This Method
Start by sprinkling baking soda liberally over your grates while they’re in the sink or a large container. Then, spray or pour white vinegar over the baking soda. You’ll see it start to fizz and bubble—that’s the chemical reaction working its magic.
Let this mixture sit and work for about 30 minutes. The fizzing action helps lift grime from the surface. After the time is up, scrub with your brush, rinse thoroughly, and dry. This method is particularly effective for enamel-coated grates.
Method 4: The Ammonia Overnight Miracle
For those grates that seem beyond hope, the ammonia method is your nuclear option. It requires minimal effort but does need time and proper safety precautions.
The Safe Way to Use Ammonia
Place each grate in its own large garbage bag. Pour about a quarter cup of ammonia into each bag—you don’t need much. Seal the bags tightly and place them outside or in a well-ventilated area like a garage. Never do this indoors where you sleep or spend time.
Let the bags sit overnight, or for at least 8 to 12 hours. The ammonia fumes will work to break down the grease and grime without you having to scrub. In the morning, open the bags outdoors and remove the grates. The grime should wipe away easily with minimal scrubbing.
Rinse the grates extremely well with water and dish soap to remove all ammonia residue. Dry them completely before putting them back on your stove.
Safety Warning: Ammonia has strong fumes. Always use it in a well-ventilated area, wear gloves, and never mix it with other cleaning products, especially bleach.
Method 5: The Dishwasher Shortcut
If you have a dishwasher and your grates are dishwasher-safe, this might be the easiest method of all. However, check your stove’s manual first, as not all grates can handle the dishwasher.
Dishwasher Guidelines
Place your grates in the dishwasher, making sure they’re secure and won’t bang around during the cycle. Use a heavy-duty or pots-and-pans cycle with your regular detergent. Some people add a little extra degreasing dish soap for stubborn grime.
Run the cycle and check the results. You may need to repeat for heavily soiled grates, or do a quick hand scrub on any remaining spots. This method works best for enamel-coated or stainless steel grates. Avoid using it regularly for cast iron, as the prolonged moisture exposure can cause rust.
Special Care for Different Grate Materials
Not all gas stove grates are created equal, and understanding your specific type helps you clean them better.
Cast Iron Grates
These are durable but require extra care to prevent rust. After cleaning, make sure they’re bone dry. Some people like to apply a very thin layer of cooking oil to season them, just like you would a cast iron skillet. This creates a protective barrier against moisture and helps prevent rust.
Avoid soaking cast iron for extended periods, and never put them away while still damp. If rust does appear, scrub it off with steel wool, clean thoroughly, dry completely, and apply a light coating of oil.
Enamel-Coated Grates
These have a protective coating that makes them easier to clean but also more delicate. Avoid using steel wool or harsh abrasives that can chip the enamel. Stick with softer scrub brushes and non-abrasive sponges.
The baking soda paste method works particularly well for enamel-coated grates. Be gentle but thorough, and always dry them completely after cleaning.
Stainless Steel Grates
These are the most forgiving and can handle more aggressive cleaning methods. They’re resistant to rust and don’t require special seasoning. Most cleaning methods work well on stainless steel, including the dishwasher method if your manual allows it.
Preventing Future Buildup on Your Gas Stove Grates
The best cleaning strategy is prevention. While you can’t avoid all mess when cooking, you can minimize how much grime accumulates on your grates.
Daily and Weekly Maintenance
Wipe down your grates after each use once they’ve cooled. A quick wipe with a damp cloth takes just seconds but prevents buildup. Once a week, give them a more thorough cleaning with soapy water, even if they don’t look too dirty.
Clean up spills immediately when possible. The longer food sits on your grates, the harder it becomes to remove. When something boils over, clean it up as soon as the grates cool down.
Smart Cooking Habits
Use properly sized pots and pans that fit your burners well. This reduces spillover. Consider using splatter screens when frying to minimize grease accumulation. Keep burner flames at appropriate levels—flames that extend up the sides of pots waste energy and create more grime.
Troubleshooting Common Grate Cleaning Problems
Even with the best methods, you might encounter some challenges. Here’s how to handle them.
Rust Spots on Cast Iron
If you notice rust developing, address it immediately. Scrub the rust off with steel wool, then clean the entire grate with soap and water. Dry it thoroughly and apply a thin coating of cooking oil. Heat the grate in a low oven (around 300°F) for an hour to season it properly.
Stubborn Burnt-On Food
For spots that just won’t budge, make a paste of baking soda and hydrogen peroxide instead of water. This combination is more powerful for burnt-on materials. Apply it, let it sit for 30 minutes, then scrub.
Discoloration That Won’t Come Off
Some discoloration is simply the result of high heat and repeated use. If your grates are clean but not pristine-looking, that’s often normal. As long as they’re free of grease and food debris, they’re sanitary even if they show some age.
When to Replace Your Gas Stove Grates
Sometimes, despite your best efforts, grates reach the end of their useful life. Knowing when to replace them saves you frustration.
Look for deep rust that keeps returning, warped or bent grates that don’t sit properly, chipped enamel coating that exposes the metal underneath, or cracks in the metal. These issues can’t be cleaned away and may affect your stove’s performance or safety.
Most manufacturers sell replacement grates for their models. Upgrading to new grates can make your entire stove look refreshed and make future cleaning easier.
Final Thoughts on Keeping Your Grates Spotless
Learning how to effortlessly clean gas stove grates to make them look like new doesn’t have to be a dreaded chore. With the right approach for your specific grate type and a consistent maintenance routine, you can keep your stove looking its best.
Remember that regular light cleaning is always easier than tackling months of accumulated grime. Choose the method that works best for your lifestyle and stick with it. Whether you prefer the gentle soap and soak approach or need the heavy-duty ammonia treatment, you now have multiple strategies in your cleaning arsenal.
Your kitchen deserves to shine, and clean gas stove grates make a bigger difference than you might think. They not only look better but also perform better and last longer when properly maintained. So grab your supplies, pick your method, and transform those grimy grates into gleaming centerpieces of your cooking space.
With these proven techniques, you’ll never again dread the task of cleaning your gas stove grates. Instead, you’ll have the confidence and knowledge to tackle the job efficiently, safely, and effectively—making your kitchen a place you’re truly proud of.
