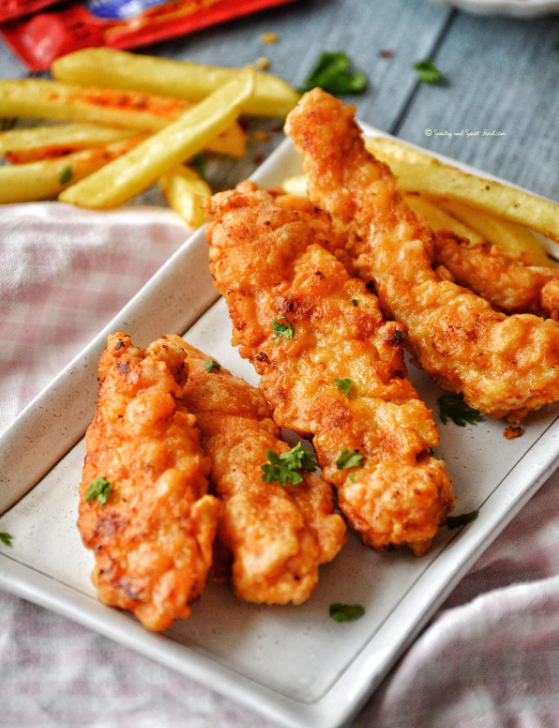
These chicken strips are everything you want in comfort food: crispy, flavorful, and irresistibly tender. They’re versatile enough to serve with fries, salads, wraps, or even as a protein-packed snack.
Here’s why you’ll make them again and again:
- Crispy coating: Perfectly seasoned breading that stays crunchy.
- Juicy inside: Moist, tender chicken with every bite.
- Simple ingredients: Nothing fancy — just fresh and flavorful.
- Kid-friendly: Loved by both kids and adults alike.
The Secret to Crispy Chicken Strips
The secret to achieving that perfect crunch lies in three key steps:
1. Use Buttermilk for Tenderness
Soaking the chicken in buttermilk (or a simple milk and vinegar mix) helps tenderize the meat and adds subtle tangy flavor. It also helps the coating stick better.
2. Double-Coat for Extra Crunch
Dredging the chicken twice — first in flour, then in an egg mixture, and again in seasoned flour — creates a thick, crispy crust that won’t fall apart during frying.
3. Fry at the Right Temperature
Keep your oil between 170°C and 180°C (340°F–360°F). Too hot, and the coating burns before the chicken cooks through. Too cold, and the strips absorb excess oil.
Ingredients for Crispy Chicken Strips
- 500g (1 lb) chicken breast, cut into strips
- 1 cup buttermilk (or 1 cup milk + 1 tablespoon vinegar, rested for 5 minutes)
- 1 cup all-purpose flour
- 1 cup breadcrumbs or crushed cornflakes (for extra crunch)
- 2 large eggs
- 1 teaspoon garlic powder
- 1 teaspoon paprika
- ½ teaspoon black pepper
- ½ teaspoon salt
- Vegetable oil for frying
How to Make Crispy Chicken Strips
Step 1: Marinate the Chicken
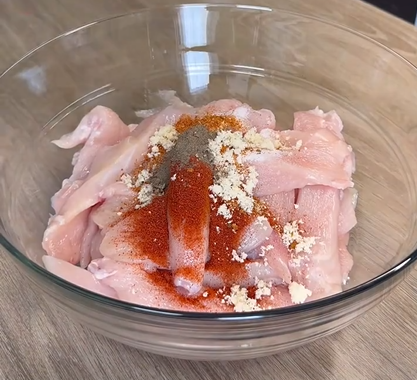
Place the chicken strips in a bowl and pour over the buttermilk. Add a pinch of salt and pepper, then mix well. Cover and refrigerate for at least 30 minutes (or up to 4 hours for extra tenderness).
Step 2: Prepare the Coating
In a shallow dish, mix together the flour, breadcrumbs, paprika, garlic powder, salt, and black pepper. In another bowl, whisk the eggs until smooth.
Step 3: Coat the Chicken
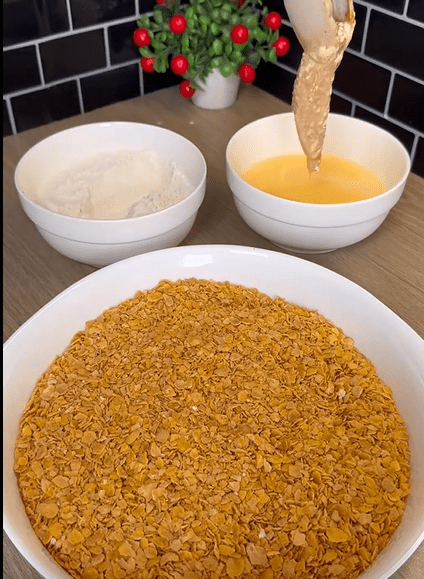
Remove the chicken from the buttermilk, shaking off any excess. Dip each strip in the flour mixture, then into the beaten eggs, and finally back into the flour mixture. Press lightly to help the coating stick.
Step 4: Fry to Perfection
Heat oil in a deep pan or skillet over medium heat. Once hot, carefully place the chicken strips in batches. Fry each batch for about 4–5 minutes per side, or until golden brown and cooked through.
Transfer to a plate lined with paper towels to remove excess oil.
Step 5: Serve and Enjoy
Serve hot with your favorite dipping sauces — honey mustard, barbecue, or spicy mayo are all great choices.
Healthier Alternatives
If you prefer a lighter version, you can easily bake or air-fry these chicken strips without sacrificing flavor.
Baked Version
- Preheat oven to 200°C (400°F).
- Place coated chicken strips on a parchment-lined baking tray.
- Spray lightly with olive oil.
- Bake for 20–25 minutes, flipping halfway through, until golden and crisp.
Air Fryer Version
- Preheat air fryer to 190°C (375°F).
- Arrange strips in a single layer and cook for 10–12 minutes, shaking halfway through.
Both methods yield a deliciously crispy texture with far less oil.
