Who doesn’t love the irresistible crunch of freshly made chips? That golden crisp, that satisfying sound — it’s pure comfort food. But what if you could enjoy delicious crispy chips without a drop of oil ? Sounds impossible, right? Not anymore. With the right technique and a few clever kitchen tricks, you can make chips that are perfectly crisp, light, and guilt-free — no frying required.
In this article, I’ll share the simple trick to making crispy chips without oil, plus the best types of potatoes to use, baking tips, and even a few seasoning ideas to make them extra flavorful.
Table of Contents
Why Make Crispy Chips Without Oil?
We all know that traditional fried chips are loaded with oil, which adds unnecessary calories and fats. Making them oil-free offers several benefits:
- ✅ Healthier option: Reduces fat and calorie intake without sacrificing flavor.
- ✅ Easier cleanup: No greasy pans or oily splatters.
- ✅ Crispier texture: With the right method, the chips turn out beautifully crisp.
- ✅ Naturally vegan and lighter: Perfect for those watching their diet or following a plant-based lifestyle.
Whether you’re using an air fryer or your oven, this trick works wonders for anyone craving that crispy perfection.
The Secret Trick to Making Crispy Chips Without Oil
The magic lies in proper preparation and moisture control. Oil isn’t what makes chips crispy — it’s the removal of water from the potatoes during cooking. The trick is to get rid of as much moisture as possible before baking or air-frying.
Here’s how to do it step by step.
Step 1: Choose the Right Potatoes
Not all potatoes are equal when it comes to chips. For the crispiest texture, choose:
- Russet potatoes (high starch, low moisture)
- Yukon Gold (great balance of starch and flavor)
Avoid waxy varieties like red or new potatoes — they hold too much water and tend to steam rather than crisp.
Step 2: Slice Evenly and Thinly
Use a mandoline slicer or a sharp knife to cut your potatoes into thin, even slices — about 1.5 to 2 mm thick. The thinner the slices, the crispier your chips will be.
Pro tip: Uniform thickness ensures even cooking. Thicker slices might end up chewy instead of crisp.
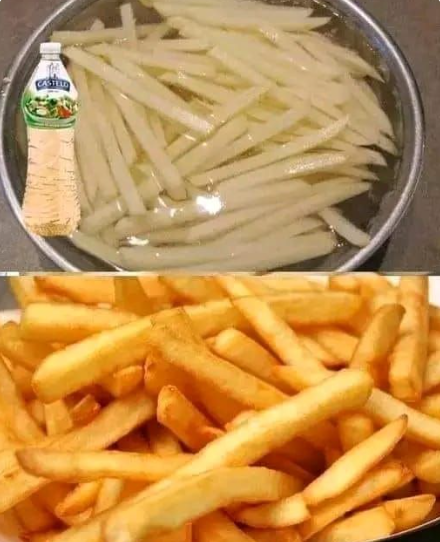
Step 3: Soak to Remove Starch
After slicing, soak the potatoes in cold water for at least 30 minutes. This step draws out excess starch, which prevents them from sticking and helps achieve that light, crisp texture.
If you have more time, soaking for up to 2 hours gives even better results.
Step 4: Dry Thoroughly
Drain the potato slices and pat them completely dry with a clean towel or paper towel. This is the most important step — any surface moisture will turn to steam, preventing crispness.
You can also let them air-dry for 10–15 minutes before cooking.
Step 5: Season and Arrange
Lay the slices flat on a baking sheet lined with parchment paper or place them in your air fryer basket. Season lightly with:
- Salt (after baking, not before — to avoid drawing out moisture)
- Garlic powder
- Paprika
- Onion powder
- A sprinkle of nutritional yeast for a cheesy flavor
You can get creative with seasonings — the possibilities are endless.
Cooking Methods: Oven or Air Fryer
You can make crispy oil-free chips using either an oven or an air fryer. Here’s how:
🍽️ Method 1: Oven-Baked Crispy Chips
- Preheat your oven to 200°C (400°F).
- Arrange the potato slices in a single layer on a parchment-lined baking sheet.
- Bake for 15–20 minutes, flipping halfway through.
- Watch closely near the end — they can go from crisp to burnt quickly.
- Once golden brown, remove and let them cool. They’ll crisp up even more as they rest.
🍽️ Method 2: Air Fryer Crispy Chips
- Preheat your air fryer to 180°C (350°F).
- Arrange the slices in a single layer — don’t overcrowd.
- Air-fry for 12–15 minutes, shaking the basket halfway through.
- Let them cool slightly for that perfect crunch.
The air fryer method is faster and uses less energy, but the oven version is ideal if you’re making a large batch.
The Science Behind the Crisp
When you remove oil from the equation, crispiness depends entirely on dry heat and moisture evaporation. The oven or air fryer circulates hot air around the slices, pulling out moisture until the starches on the surface harden — creating that satisfying crunch.
That’s why drying your potatoes properly before cooking is essential. It’s the same scientific principle that makes dehydrated snacks crispy — just faster.
Healthy and Flavorful Seasoning Ideas
Once your chips are done, toss them in your favorite spices while they’re still warm:
- Classic: Sea salt and black pepper
- Smoky: Paprika, garlic powder, and a pinch of chili
- Herbal: Dried rosemary, oregano, and thyme
- Cheesy (vegan): Nutritional yeast with onion powder
- Tangy: Sprinkle a bit of lemon zest or vinegar powder
You can even mix and match to create your own signature flavor blend.
Storage Tips for Crispy Chips
If you manage not to eat them all right away (which is hard!), store your chips in an airtight container once they’ve cooled completely. Keep them at room temperature, and they’ll stay crisp for up to 3 days.
Avoid refrigerating them — moisture in the fridge will make them soft.
Final Thoughts
The trick to making delicious crispy chips without a drop of oil is all about technique, not fat. By mastering the balance of slicing thin, removing starch, drying well, and baking with circulating hot air, you’ll achieve that perfect crunch every time.
These chips are light, healthy, and satisfyingly crisp — the kind you can enjoy without guilt or grease. Try them once, and you’ll never look at fried chips the same way again.
Crispy, crunchy, and 100% oil-free — that’s the real snack-time revolution!
