Beef Back Ribs Recipe
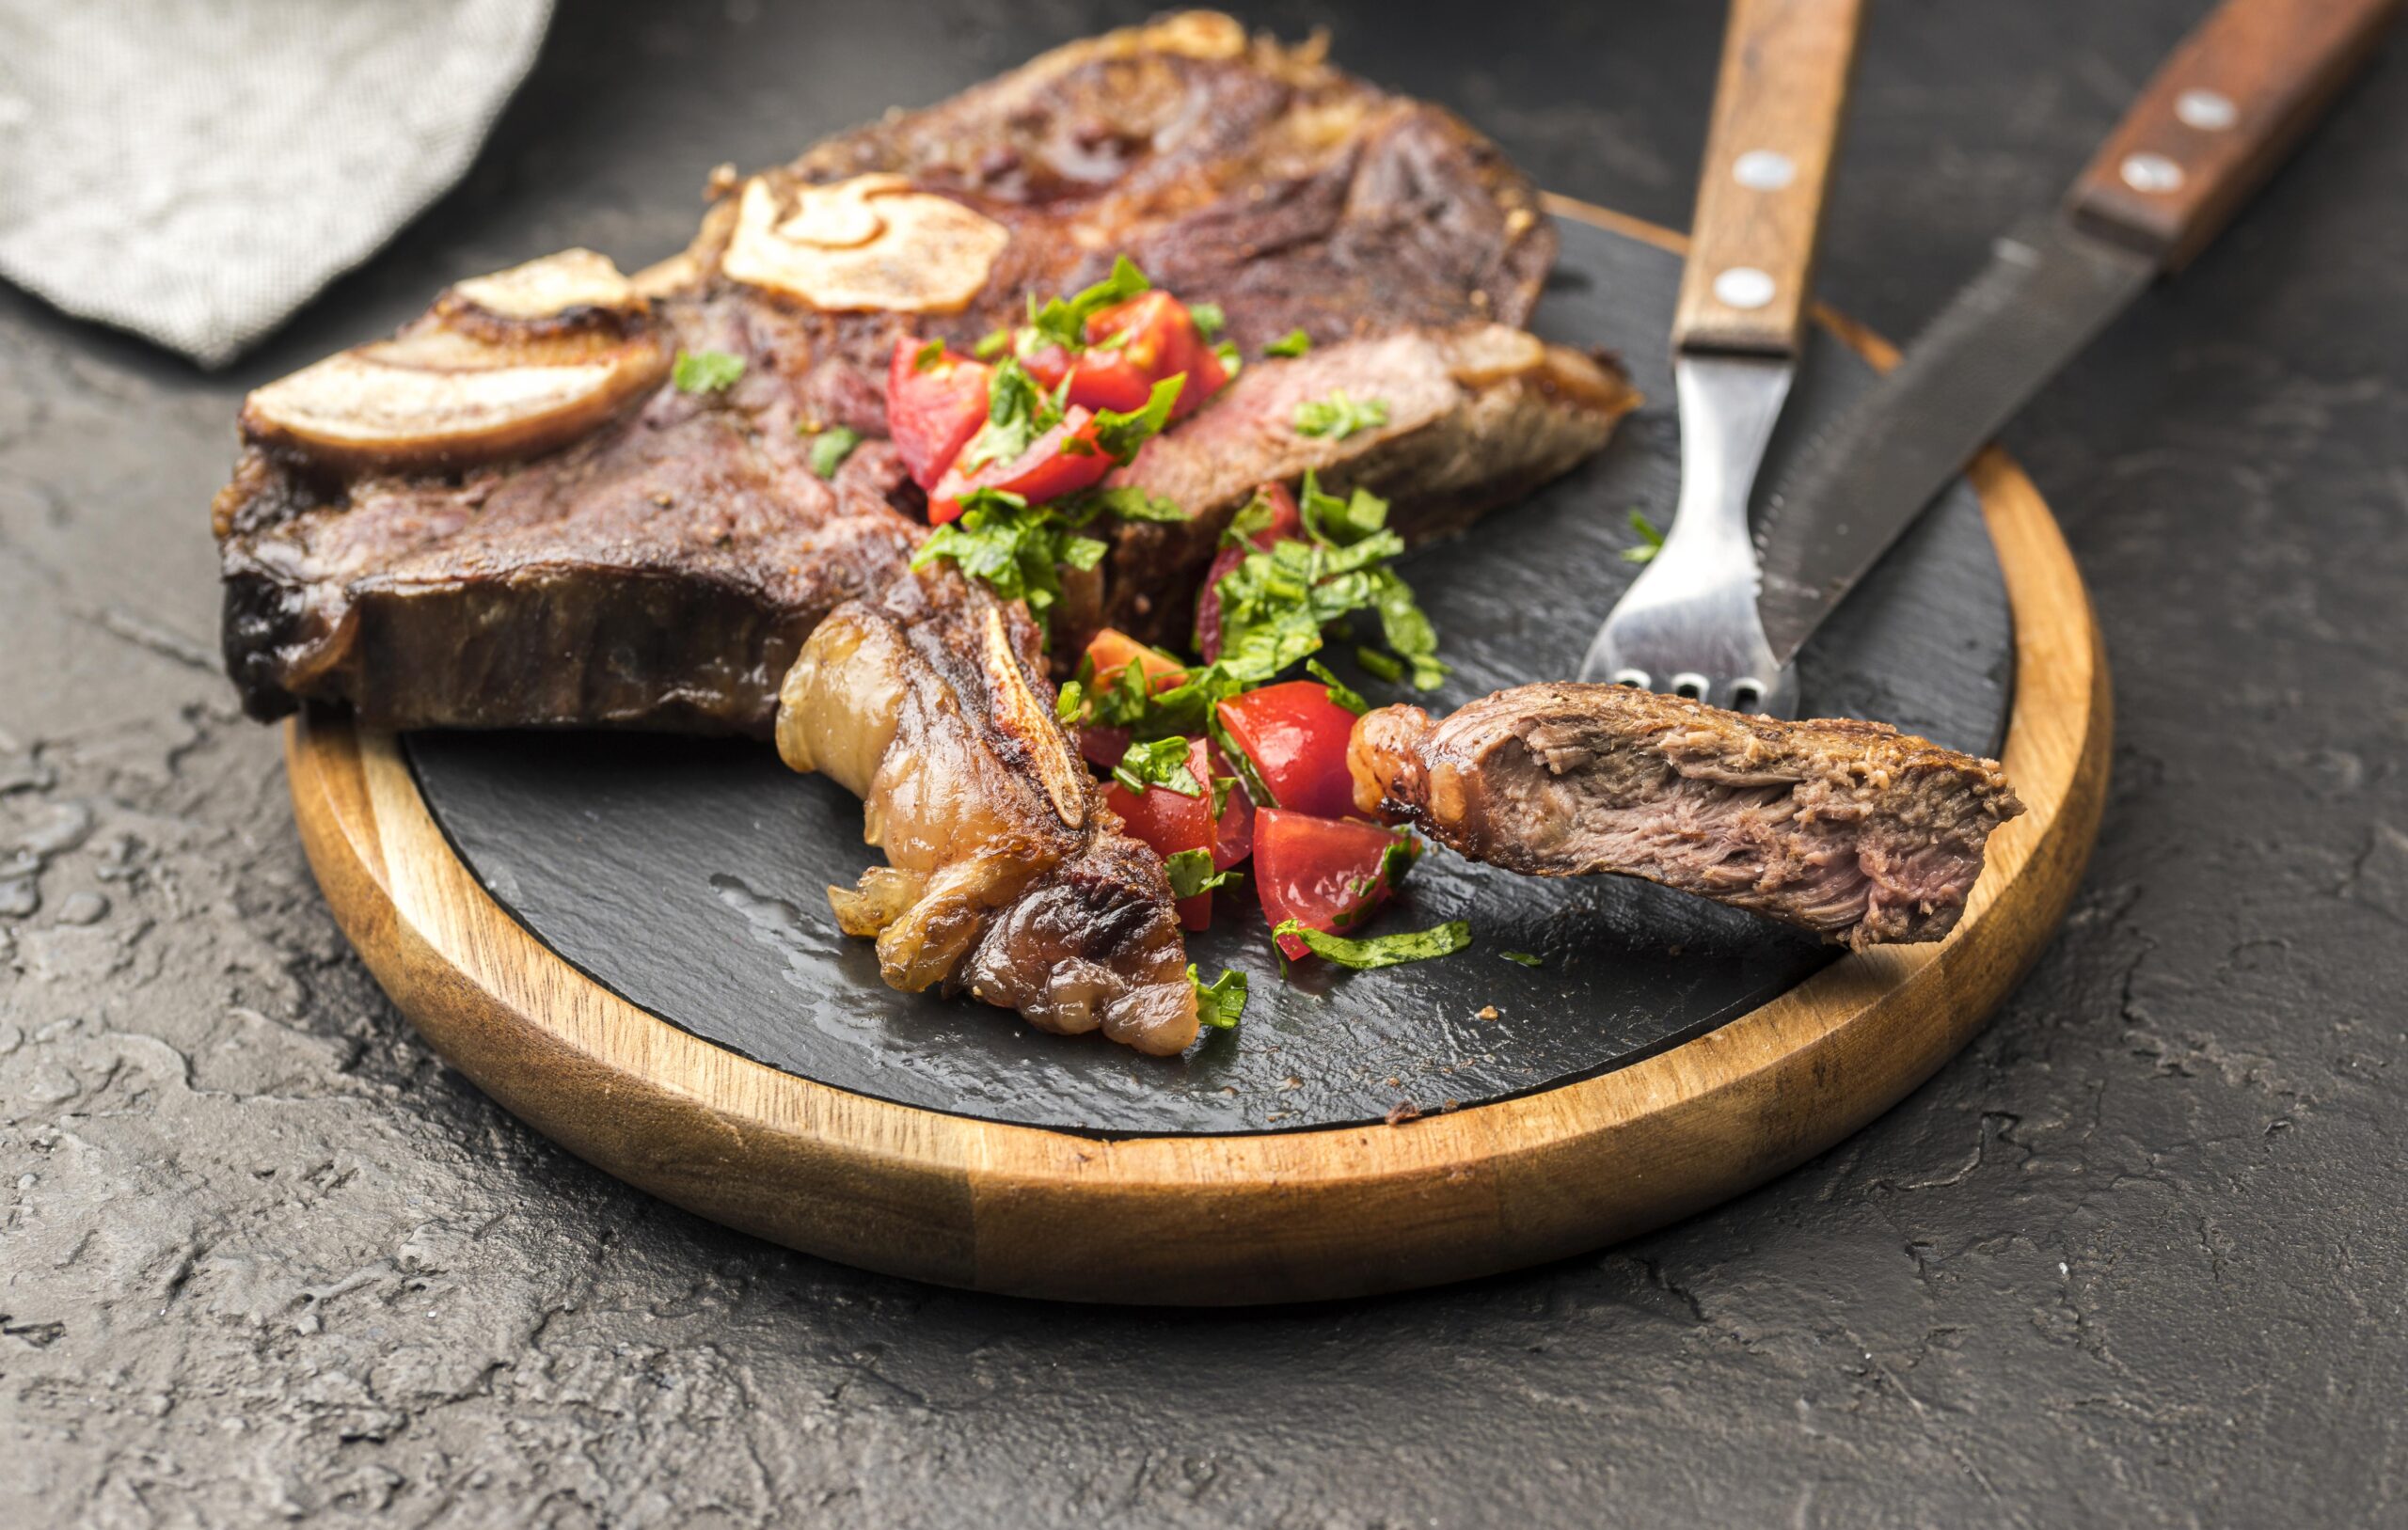
Picture this: you’re standing in your backyard, watching smoke curl lazily from your grill while the most incredible aroma fills the air. Your family gathers around, eyes wide with anticipation as you lift the lid to reveal perfectly cooked beef back ribs that practically fall off the bone. This isn’t just dinner – it’s a moment that creates lasting memories.
If you’ve ever struggled with tough, chewy ribs or felt intimidated by the cooking process, you’re not alone. Many home cooks believe that achieving restaurant-quality beef back ribs requires professional equipment or secret techniques. The truth is, with the right approach and patience, you can master this impressive dish in your own kitchen.
Table of Contents
What Are Beef Back Ribs and Why You Should Cook Them
Beef back ribs represent one of barbecue’s most underrated treasures. These substantial cuts come from the upper portion of the cow’s rib cage, specifically from the chuck, rib, or short plate sections. Unlike their smaller counterparts, beef back ribs offer generous portions of meat with exceptional marbling that creates incredible flavor when cooked properly.
You’ll find these ribs particularly appealing because they’re significantly more affordable than premium steaks while delivering equally satisfying results. Each rack typically measures 6-8 inches in length, making them perfect for feeding hungry crowds or creating an impressive centerpiece for your next gathering.
Why Beef Back Ribs Excel Over Other Cuts
Your choice to cook beef back ribs offers several distinct advantages. First, the substantial size means you’re getting excellent value for your money. Second, the rich marbling throughout the meat ensures consistent flavor in every bite. Third, these ribs are incredibly forgiving during the cooking process – the long, slow cooking method makes it nearly impossible to overcook them.
The robust beef flavor also pairs beautifully with a wide variety of seasonings and cooking methods, giving you endless opportunities to experiment with different flavor profiles.
Essential Ingredients for Your Perfect Beef Back Ribs Recipe
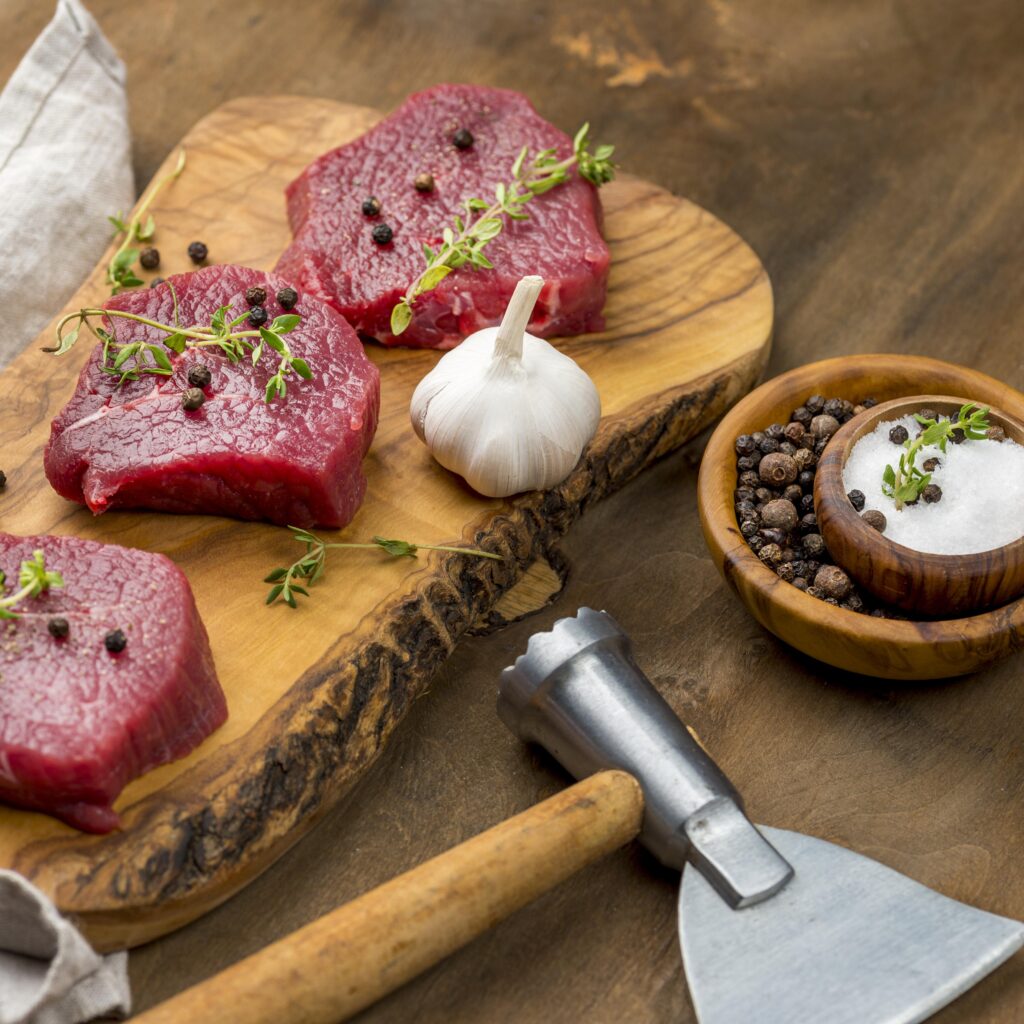
Success with beef back ribs starts with selecting quality ingredients. Your dry rub forms the foundation of flavor, while proper preparation ensures optimal results.
Dry Rub Ingredients
| Ingredient | Amount | Purpose |
|---|---|---|
| Brown sugar | 1/4 cup | Creates caramelization and balances heat |
| Paprika | 3 tablespoons | Adds color and mild pepper notes |
| Garlic powder | 2 tablespoons | Provides savory depth |
| Onion powder | 2 tablespoons | Contributes sweet aromatic base |
| Chili powder | 1 tablespoon | Introduces heat and complexity |
| Cumin | 1 tablespoon | Delivers earthy warmth |
| Black pepper | 1 tablespoon | Adds sharp heat |
| Salt | 1 tablespoon | Enhances all other flavors |
| Smoked paprika | 1 teaspoon | Provides smoky depth |
Main Ingredients
| Ingredient | Amount | Notes |
|---|---|---|
| Beef back ribs | 3-4 pounds | Choose 2-3 racks |
| Yellow mustard | 2 tablespoons | Acts as rub binder |
| Apple cider vinegar | 1/4 cup | Helps tenderize meat |
| Beef broth | 2 cups | Maintains moisture during cooking |
Step-by-Step Beef Back Ribs Recipe
Preparation Phase: Setting Up for Success
Your journey to perfect beef back ribs begins with proper preparation. Start by removing the tough membrane from the back of each rib rack. This silver skin prevents seasonings from penetrating the meat and creates a chewy texture that nobody enjoys.
To remove the membrane, slide a knife under one corner and use paper towels to grip and pull it away in one piece. This step requires patience, but the improved texture makes it worthwhile.
Next, apply a thin layer of yellow mustard across all surfaces of the ribs. This acts as a binder, helping your dry rub adhere better to the meat. Don’t worry about the mustard flavor – it will cook out completely, leaving only enhanced seasoning adherence.
Generously apply your dry rub mixture, pressing it firmly into the meat. Pay special attention to the meaty areas where you want maximum flavor penetration. Allow the seasoned ribs to rest at room temperature for 30 minutes before cooking.
Cooking Methods: Two Proven Approaches
Oven Method: Reliable Results Every Time
Your oven provides the most consistent environment for cooking beef back ribs. Preheat to 275°F (135°C) – this temperature ensures slow, even cooking that breaks down tough connective tissues without drying out the meat.
Wrap your seasoned ribs tightly in aluminum foil along with the apple cider vinegar. This creates a steam environment that accelerates the tenderizing process. Place the wrapped ribs on a baking sheet and cook for 3 hours.
After the initial cooking period, carefully unwrap the ribs and return them to the oven uncovered. Continue cooking for another 1-2 hours until the internal temperature reaches 195°F (90°C). This final phase allows the exterior to develop a beautiful bark while the interior reaches perfect tenderness.
Smoker Method: Maximum Flavor Development
If you prefer traditional barbecue methods, your smoker delivers unmatched flavor complexity. Maintain a steady temperature of 225°F (107°C) throughout the cooking process. Choose hardwoods like hickory or oak for robust flavor that complements the rich beef.
Place your ribs meat-side up in the smoker and cook for 5-6 hours. Spritz the ribs hourly with beef broth to maintain surface moisture and prevent excessive bark formation. You’ll know they’re ready when the internal temperature reaches 195-203°F (90-95°C) and the meat easily pulls away from the bone.
Professional Tips for Consistent Results
Temperature Control: Your Key to Success
Temperature management determines whether your beef back ribs turn out tender or tough. Never exceed 300°F (149°C) during cooking, as higher temperatures cause the meat to tighten and become chewy.
Invest in a reliable digital thermometer with a probe that can monitor internal temperature throughout the cooking process. This eliminates guesswork and ensures consistent results every time you cook.
Timing Guidelines You Can Trust
Your cooking timeline should follow these general guidelines:
- Preparation: 30 minutes
- Cooking: 5-6 hours (depending on method)
- Resting: 15 minutes before serving
Remember that these times can vary based on rib thickness and your specific equipment. Always prioritize internal temperature over time when determining doneness.
Common Mistakes to Avoid
Many home cooks sabotage their efforts by making these critical errors:
- Cooking at excessive temperatures that toughen the meat
- Skipping the membrane removal step
- Not allowing enough seasoning time
- Opening the oven or smoker too frequently, which releases heat and extends cooking time
- Cutting into the ribs immediately after cooking without resting
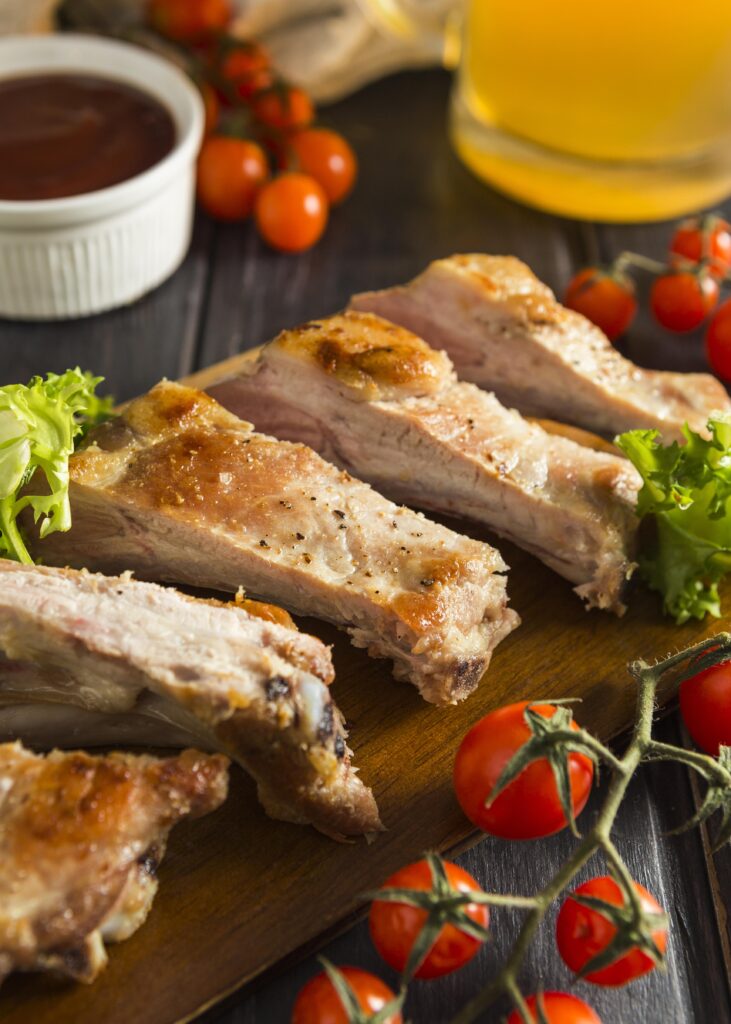
Serving Suggestions That Complete the Experience
Your perfectly cooked beef back ribs deserve equally impressive accompaniments. Traditional sides that complement the rich, smoky flavors include:
Classic Pairings:
- Creamy coleslaw that cuts through the richness
- Sweet and tangy baked beans
- Fresh cornbread with honey butter
- Loaded potato salad with herbs
- Comfort-food mac and cheese
Serving Presentation: Cut between the bones to create individual portions. Arrange on a large platter with your chosen sides, and provide extra dry rub on the side for those who want additional seasoning. Don’t forget wet napkins and finger bowls – these ribs are meant to be enjoyed with your hands.
Storage and Reheating for Later Enjoyment
Your leftover beef back ribs (if any remain) can be stored safely in the refrigerator for up to 4 days when properly wrapped. For longer storage, freeze portions for up to 3 months.
When reheating, use low temperatures to prevent drying out. Your oven at 275°F (135°C) for 20-30 minutes works perfectly. Alternatively, use your microwave at 50% power in 30-second intervals until heated through.
Frequently Asked Questions About Beef Back Ribs Recipe
How do you know when beef back ribs are properly cooked? Your ribs are done when the internal temperature reaches 195-203°F (90-95°C) and the meat easily separates from the bone with minimal resistance. The texture should be tender but not mushy.
Can you prepare beef back ribs recipe in advance? Absolutely! Cook your ribs completely, then reheat gently before serving. This approach actually improves flavor development as the seasonings have more time to meld together.
What’s the best wood for smoking beef back ribs? Hickory and oak provide excellent flavor balance for beef. Apple and cherry woods offer milder, sweeter smoke profiles if you prefer subtler flavors.
How long should beef back ribs rest after cooking? Allow your ribs to rest for 15 minutes after cooking. This resting period helps redistribute juices throughout the meat for maximum tenderness and flavor.
Can this beef back ribs recipe work for other cuts? While the seasoning blend works well on other beef cuts, cooking times will vary significantly. Adjust your approach based on the specific cut you’re preparing.
Your Next Steps to Beef Back Ribs Mastery
You now have everything needed to create extraordinary beef back ribs that will impress your family and friends. The combination of proper preparation, temperature control, and patience will deliver consistently delicious results that rival any restaurant.
Start by gathering your ingredients and setting aside adequate time for the entire process. Remember, rushing leads to disappointing results, while patience rewards you with tender, flavorful ribs that create memorable dining experiences.
Ready to become the backyard barbecue hero your family deserves? Fire up your oven or smoker this weekend and put these techniques into practice. Your first bite of perfectly cooked beef back ribs will convince you that mastering this recipe was worth every minute of effort.
Don’t forget to share your results and any variations you discover along the way. Great barbecue brings people together, and your success with this beef back ribs recipe will create countless opportunities for memorable gatherings around your table.
